se i can say that the sequence is :
unlock bootlader > flash custom kernel > flash cutom rom
READ FIRST
- So for you that want to flash custom kernel you must unlock the bootloader first. Because if you don't unlock it your phone will be hard brick. so please be carefull and make sure you have unlock bootlader before flash kernel
- every rom will use a special kernel / kernel itself. very important that you make sure the kernel what should be used every time you want to install custom rom that require kernel
- I have do This Tutorial and i have succeded flash custom kernel with nAa-12 dan rom kuyadroid 4.5.4
- Do with your own risk
How To Flash Custom Kernel on Xperia X8
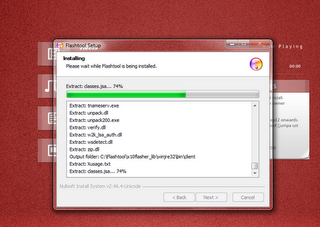
- Download the latest version of flash tool. after download, install flash tool flash tool and then open the folder and go to the driver .. click to install and select the driver for your xperia x8.
- restart your computer
- After restart, open windows task manager by press ctrl+alt+del
- go to the process tab then find adb.exe, click then press end process
- Download File kernel that you will install, at this time i use nAa-12 kernel
- After download the kernel put the .ftf krenel file to foler flashtool > firmware
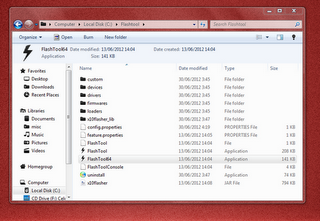
- Open flashtool.exe
- choose the version that match with your computer 32(86) bit or 64(64) bit
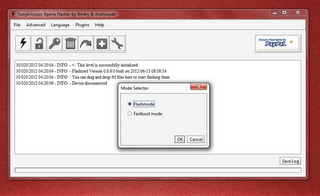
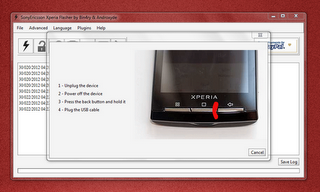
- choose the thunder arrow and select flashmode
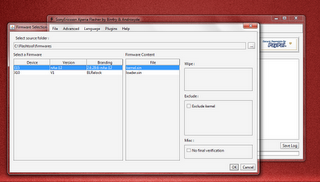
- make sure that you select the right kernel and on the firmware content choose kernel.sin
- Click Ok, then follow the instruction that appear
- turn off your phone by press the back button while beak usb cabel .. wait until your phone detected in flash tool.
- wait until the process finish
- after finished, reboot your phone then see on setting>about>kernel verison. you will see the kernel version that you have installed
Finish. That is for tutorial flash custom kernel for Xperia X8. see you in next post :)
0 komentar:
Post a Comment