wikidroyd is an android application. if you want to find something quickly you can use this application for free. They could at any time to access wikipedia directly via your android phone. complete knowledge on wikipedia you can access through your phone quickly and easily, with an attractive appearance and do not need to retrieve from the Internet every time they use the application. and the benefits is after you use to search some article in android you can save the articles to your sdcard so you can anytime acces those articles again from your sdcard quickly without need more internet connection
Controls and Functions
The program is simple and welcomed one, after a successful installation and setup (more on that later), with a typical wiki-search - type your search term and only you can start. you can download the wikipedia database article from any language you want, but it needs some big memory and interet connection to download it, but the benefits is you can acces an article you want anytime without need any internet connection, because you have download the database before
In addition to the normal product search, it is also possible in the article to search for certain words (text). Then, if an article should be of particular importance, can I take this simply as a favorite or you can bookmark them and has these so close at hand(from your android phone).
This WikiDroyd work, you must be anticipating the SD card filled with relevant wiki articles. Where did you get this wiki databases and what there is still so to consider when installing you learn to read more.
Installation - Wiki Database Load
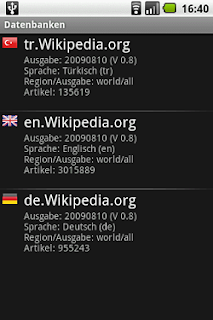
The wiki is available in different languages and database versions for download - The complete set of German wiki articles, for example, includes more than 1.7 gigabytes of memory - English All wiki articles more than 4 gigabytes. So you should have some space on your memory card have to ensure that the installation goes smoothly.
After downloading WikiDroyd through the Android Market, you will at first start of the program to load a database called Wiki. You can it from a list of over 10 different languages and choose this product package then download directly on your Android phone, or it is also possible to download from on your computer.
Download to computer
Since the packets are usually several gigabytes in size, the download recommends using the PC - on the Android mobile phone, it would only take an unnecessarily long time and cause additional costs, especially if one does not have a data plan.
So marked the package you want at a glance and then presses the "back" button. Now you will be prompted by either "OK" to download it directly or by selecting "via computer" to make the computer work. If you download "via computer" you can use your Internet Explorer then selects a file to your SD card is stored, you can open a browser - where it then finds the appropriate link to download your wiki database.
After you have loaded ie the items database, you have to put these only in the proper directory on the SD card - This is / WikiDroyd / xx / xx being the language abbreviation (ie for Germany - U.S.) is. After the database is detected the next time WikiDroyd automatically and you can start with browsing.
Conclusion
WikiDroyd is handy for a quick picture perfect. The display and search of articles is done without any charge time and a clear presentation, I now prefer to look into this off Wikipedia just a little to short, as I am waiting until an Internet connection is available.
DOWNLOAD
you can directly download wikidroyd from this link below


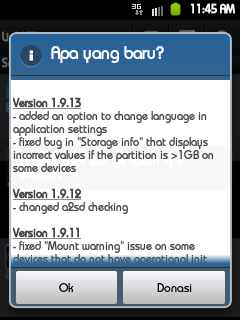

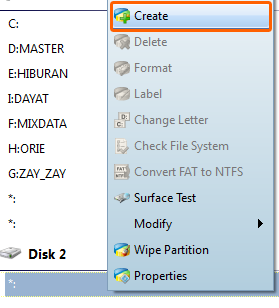
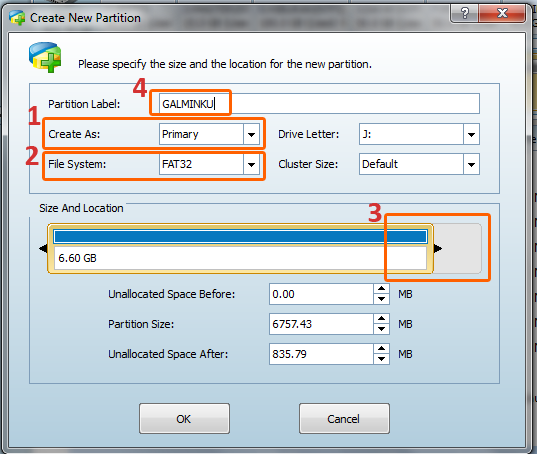
 then will appear an option box, Just Click Yes set the parameter according to the following picture, then click the OK button.
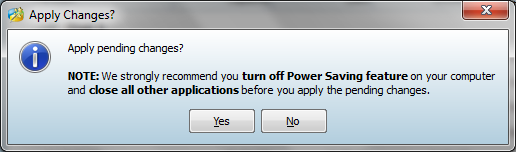 Choose Yes